Definition Related for Plastering Work
Important Point
Plasterwork is construction or ornamentation done with plaster, such as a layer of plaster on an interior or exterior wall structure, or plaster decorative mouldings on ceilings or walls.
The process of creating plasterwork, called plastering or rendering, has been used in building construction for centuries.
Plaster work-related definition as below
- Plaster Background.
- Plaster Blistering.
- Cracking in Plaster.
- Crazing in Plaster.
- Dado in Plaster.
- Dubbing coat in Plaster.
- Dost in Plaster.
- Finishing Coat Plaster.
- Flaking Plaster.
- Gauging in Plaster.
- Grinning in Plaster.
- Grounds in Plaster.
- Hacking for Plaster.
- Keys in Plaster.
- Laitance Plaster.
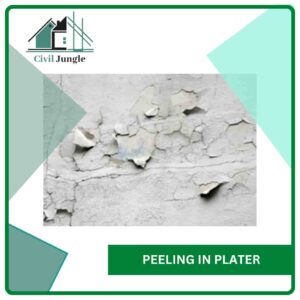
- Peeling in Plater.
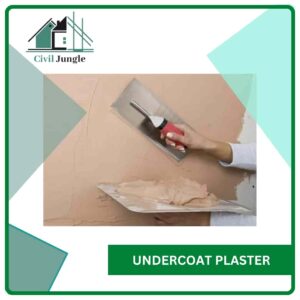
- Undercoat Plaster.
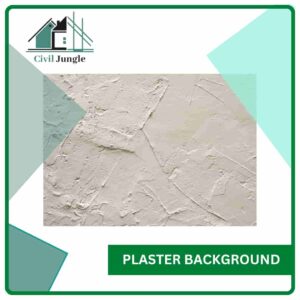
1. Plaster Background
It is the surface of masonry or any other surface to which we apply first coat plaster.
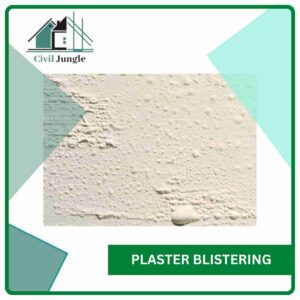
2. Plaster Blistering
As soon as you can feel a blister developing, apply a plaster. An Elastoplast SOS Blister Plaster is one of the first self-help options.
A plaster will cushion the affected area and protect even an open blister from infection and dirt. It will also help take off the pressure-induced pain and help the healing process.
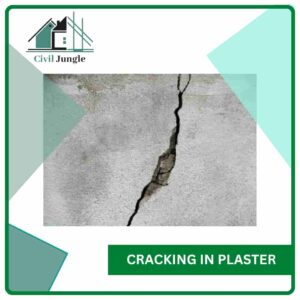
3. Cracking in Plaster
These are cracks developed on the plastered surface due to the movement of background or structure surrounding it.
Cracks in the plaster may result due to different reasons: Evaporation if the wall is not protected from sun and wind which can cause map cracking or dry shrinkage cracks.
Suction into the walls if the blocks are absorbent and they have not been dampened which might cause drying shrinkage cracks.
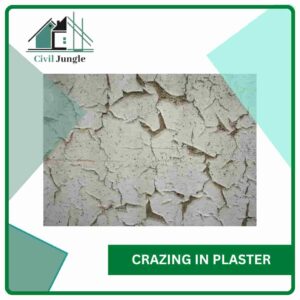
4. Crazing in Plaster
Hair cracks develop on the finished surface in an irregular pattern called crazing. Crazing is a network of fine cracks, usually in a hexagonal pattern, which measures between 5 and 75 mm across each hexagon.
Crazing often occurs within a few hours of the plaster being applied to the wall and cracks may hardly be visible until dust or moisture makes them noticeable.
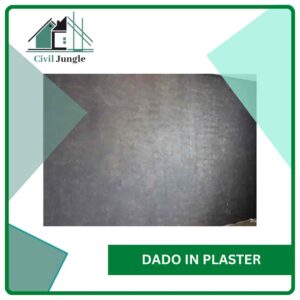
5. Dado in Plaster
Dado is a special treatment given to the lower part of wall so that the wall can with-stand erosive forces. Dado rail, or chair rail, is a type of moulding fixed horizontally at roughly one-third the ceiling height to the wall around the perimeter of a room.
Our Dado Rails are made from high-quality plaster in a variety of styles suited to all types of rooms.
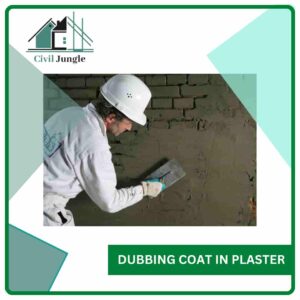
6. Dubbing Coat in Plaster
Before applying plaster, the hollow spaces in the solid background are filled. This process is called the dubbing coat process.
Dub-out the walls with the haired base-coat plaster (in coats not greater than 9mm) were necessary to create an even surface for the first or scratch coat (so that each subsequent coat of lime plaster can then be applied at the same thickness), this should be left to harden before applying the first coat.
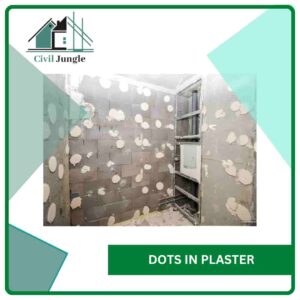
7. Dots in Plaster
Small projection laid on background for fixing screeds etc. is called dots. It is size may be 150 mm x 150 mm
At one end of the wall we stick two small pieces of flat wood (thin ply) on some blobs of plaster; one near the top of the wall, and one near the bottom. These are the “Dots“.
8. Finishing Coat Plaster
It is the final coat of plaster. Such a coat is known as setting a coat or skimming coat.
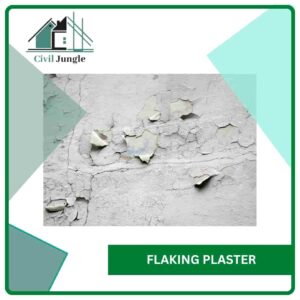
9. Flaking Plaster
A solution would be to scrape off the flaking parts over a slightly larger area, re-plaster that area and apply a primer coat once the plaster has completely dried. Only then should you repaint either the whole wall or just that portion.
10. Gauging in Plaster
Gauging Plaster is designed for use with finish lime. It is specially ground, calcined gypsum, which readily mixes with water and lime putty.
A finish coat of gypsum gauging plaster and finish lime is designed primarily for interior smooth trowel application over a gypsum plaster basecoat.
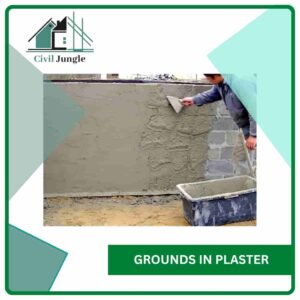
11. Grounds in Plaster
These are wooden strips. These strips are fixed to the background in which the primary finishing coat may be secured.
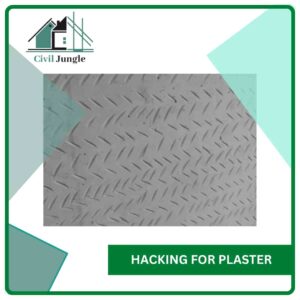
12. Hacking for Plaster
The process in which the surface of the background is roughened to provide a suitable key for plastering is called hacking.
Hacking refers striking of surfaces such as RCC walls, columns, beams, slabs etc., with a chisel to dent the surface in order to create a proper mechanical bond with cement mortar/gypsum plaster directly applied on it.
13. Keys in Plaster
The opening or indentations or corrugation on the background or surface of undercoat from mechanical bound with plaster is called a key.
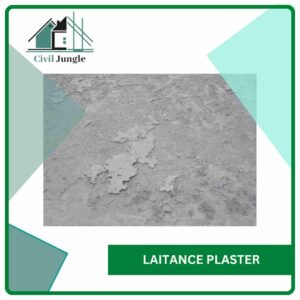
14. Laitance Plaster
A screen consisting of particles thin layer of fine cement particles is formed due to excessive trowelling or freshly laid concrete. It is called laitance.
15. Peeling in Plater
Peeling from plaster could be a result of insufficient wet troweling of the white coat when the plaster was originally applied, causing chalking of the surface. Very hard plaster may be slick, reducing the adhesion of any coating.
16. Undercoat Plaster-
All the coats of plaster applied under the finishing coat are called undercoat.
Also, Read: What Is Plaster | Methods of Plastering
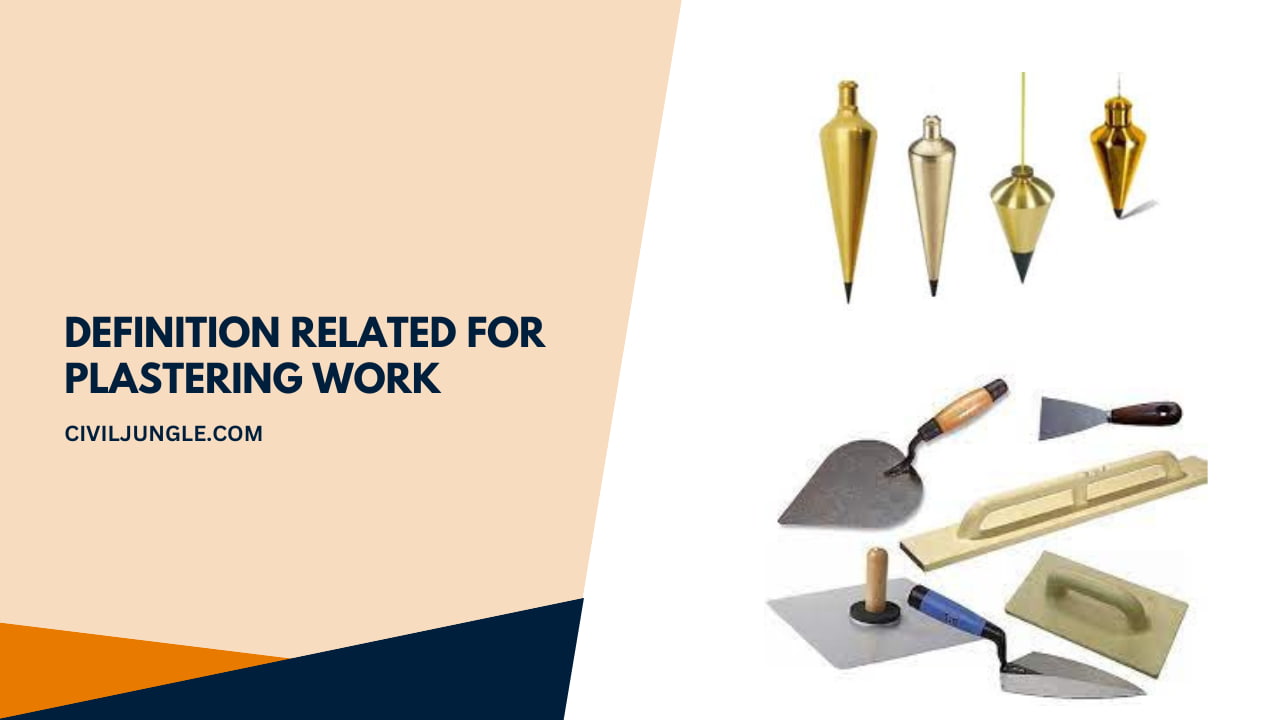
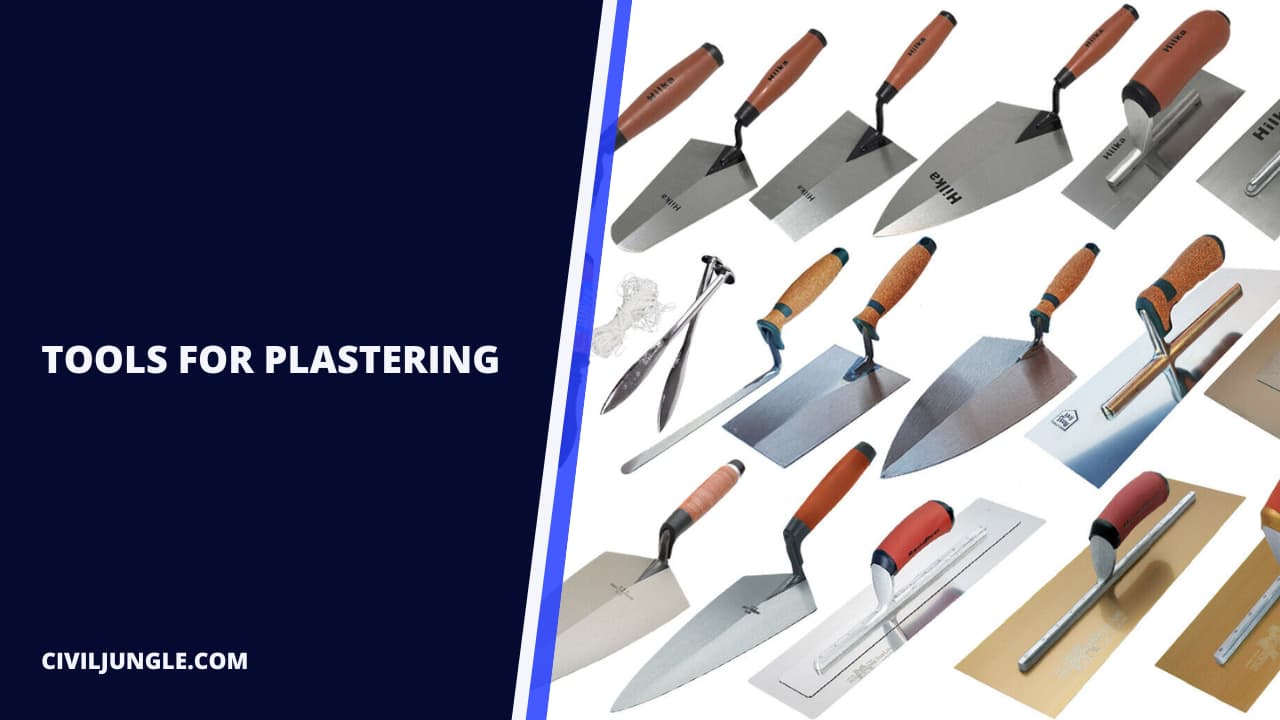
Tools For Plastering
Following tools are used for plastering:
- Trowel.
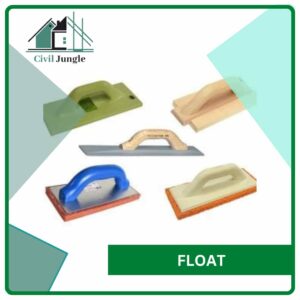
- Float.
- Floating Rule.
- Plumb Bob.
1. Trowel
Trowels used for mixing mortar. Trowels are 150 mm to 450 mm. A few of the above are blunt-ended, and a few are point-ended. A trowel is a small hand tool used for digging, applying, smoothing, or moving small amounts of viscous or particulate material.
2. Float
A float is used for spreading the motor on the surface of the wall. It can be of metal or wood. Wooden float is prepared by fixing the handle on a 10 mm thick wooden board. It is used to finish the coat. It is called skimming float.
Also, read: What Is Classification of Bricks | Classification of Bricks Different Base
3. Floating Rule
It is used for checking the level of the plastered surface between successive screens. Floating Rules are a special type of advanced rule that can perform complicated actions not possible with rules on interface or group tabs. Floating rules can act on multiple interfaces in the inbound, outbound, or both directions.
4. Plumb Bob
It is used for vertically of the plaster. Over and above this, spirit level, brush, set square, etc. are used for plastering. A plumb bob, or plummet, is a weight, usually with a pointed tip on the bottom, suspended from a string and used as a vertical reference line, or plumb-line. It is a precursor to the spirit level and used to establish a vertical or horizontal datum.
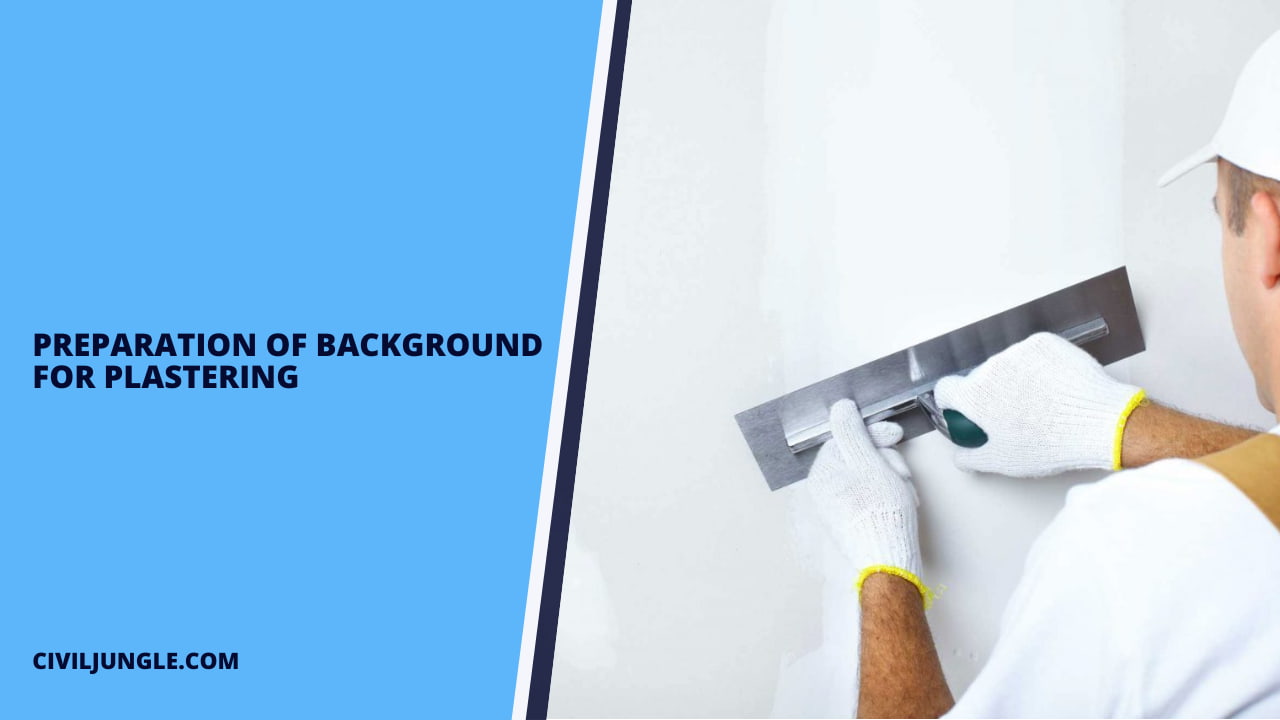
Preparation of Background for Plastering
- Before applying plaster on the surface of the wall, all the masonry joints are raked out to a depth of 10 mm. in brick masonry and increase of stone masonry up to 15 mm, joints are raked out.
- The racking out of joints provide the key to the plaster all dirt like dust and mortar droppings, etc. should be cleaned with a wire brush.
- All uneven surfaces are levelled before rendering is applied. The surface should be washed with clean water and kept damp uniformly.
- In case the plater is to be applied on the old surface, the surface should be cleaned. Old loose plaster should be broken surface should be washed with water, and joints should be racked out.
Also, read: What Is Quarrying of Stones | Methods of Quarrying | Selection of a Site for Quarrying of Stones
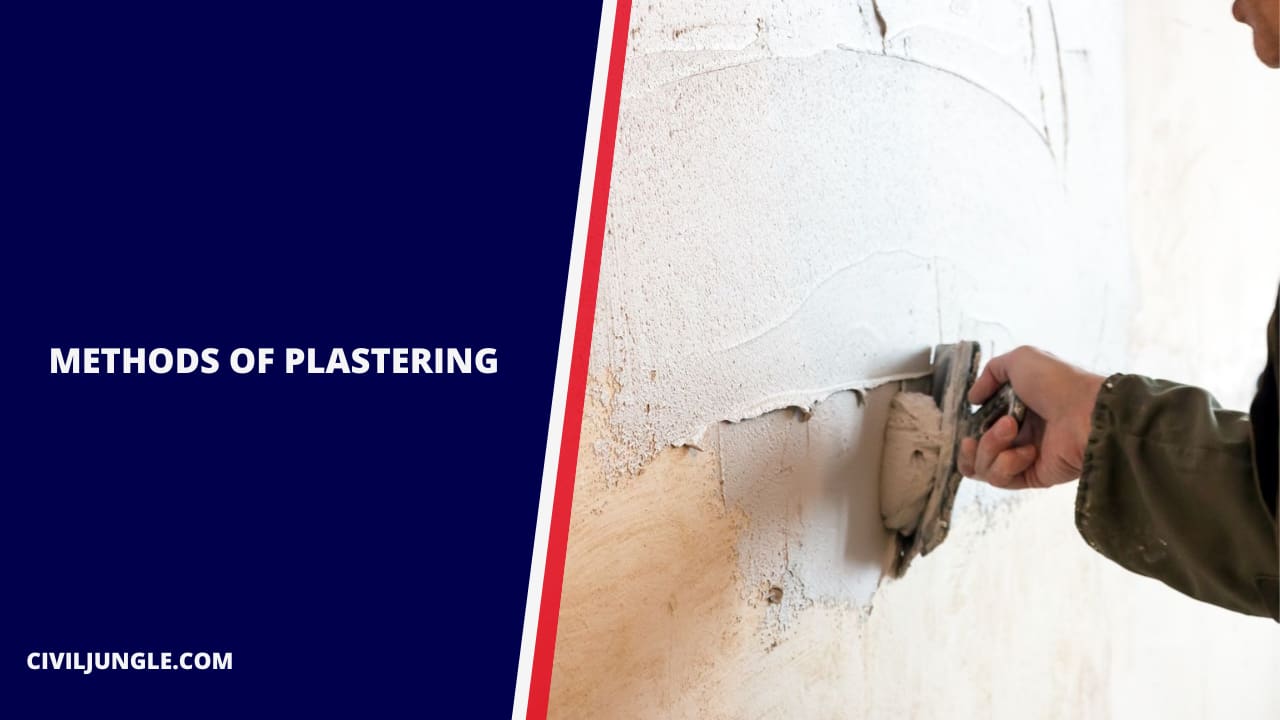
Methods of Plastering
- Three coat plaster
- Two coat plaster
- Single coat plaster
- Cement Plaster and Cement Lime Plaster
- Plaster on lath
Best Plastering Tools for Professionals
10 Plastering Tools for Wall Installation and Repair
- Hammer. Would-be plasterers will do well to keep a trusty hammer on hand.
- Handsaw. Wood lath was used for generations of plasterers.
- Spackle Knife.
- Bucket.
- Utility Knife.
- Paddle Mixer.
- Bucket Trowel.
- Hawk.
Essential Tools for Diy Plastering Projects
What Are the Tools You Need for Plastering?
- Hawk. A hawk is the number one must-have tool for any professional plasterer.
- Window trowel. Most plasterers use their window trowel instead of their other larger trowels around windows.
- Finishing Trowel.
- Bucket Trowel.
- Sponge/sandpaper.
- Plasterers float.
- Jointing knife.
Top 10 Essential Plastering Tools
The Top 10 Plastering Tools You’ll Need To Get The Job Done
- Inside and Outside Corner Trowels.
- Mortar Stand.
- Bucket Trowel.
- Mixing Bucket.
- Hawk.
- Snips.
- Plasterers Float.
- Scarifier. The final tool on our list is the scarifier – a large metal comb that allows you to scratch away at the render before applying your second coat.
Top-Rated Plastering Tools for Diy Projects
When it comes to plastering tools for DIY projects, there are several options available that can help you achieve professional results. Here are some top-rated plastering tools to consider:
- Plastering Trowel: A high-quality plastering trowel is an essential tool for applying and smoothing plaster. Look for a trowel with a comfortable handle and a flexible, stainless steel blade for precise control.
- Hawk: A plastering hawk is a flat square board with a handle underneath. It is used to hold and carry plaster or joint compound for easy access while working on walls or ceilings. Look for a lightweight hawk with a sturdy handle for better maneuverability.
- Plastering Float: A plastering float is used for finishing and smoothing the surface of freshly applied plaster. Look for a float with a sponge or rubber pad for even distribution of the plaster and a comfortable grip.
How to Prepare Walls for Plastering?
Make sure to remove any furniture from the room and depending on the job you may also need to remove curtain rails, dado rails and even radiators. Tape up any sockets to prevent plaster from getting in them. Lay out heavy duty protective sheets on the floor.
Plastering Materials Names
Special Plastering Materials for Different Purposes Used in Building Construction
- Asbestos Marble Plaster.
- Acoustic Plaster.
- Granite Silicon Plaster.
- Gypsum Plaster.
- Barium Cement Plaster.
- Keene’s Cement Plaster.
- Scagliola Plaster.
- Martin’s Cement Plaster.
Which Is Used for Plastering?
The most common types of plaster mainly contain either gypsum, lime, or cement, but all work in a similar way. The plaster is manufactured as a dry powder and is mixed with water to form a stiff but workable paste immediately before it is applied to the surface.
What Tools Do I Need to Plaster a Wall?
The Top 10 Plastering Tools You’ll Need To Get The Job Done
- Finishing Trowel. In a similar way to the pointing trowel, the finishing trowel is another crucial tool in any plasterer’s kit.
- Window Trowel.
- Inside and Outside Corner Trowels.
- Mortar Stand.
- Bucket Trowel.
- Mixing Bucket.
- Hawk.
- Snips.
What Tools for Plastering?
CES’s Top 10 Plastering Tools
- Plastering Hawk. A hawk is another essential plastering tool.
- Bucket Trowel. Alongside your hawk, you will need a bucket trowel.
- Corner Trowel.
- Powermixer.
- Spatula.
- Plasterers Float.
- Plasterers Rule.
- Scarifier.
How to Check Wall Plaster Level?
Level buttons ( or pads) should be made over the masonry surface at regular intervals. The thickness of the level pad at the wall corners should be taken as 12mm. The plaster thickness that may come at any given area should be checked by holding the lineout string over the buttons.
Plaster Blistering
Simply put, the bubbling in your plaster is down to moisture escaping the brickwork of the wall itself, pushing plaster up and ruining that plaster as a result.
Cracks in Plaster Walls
It’s common to have some small cracks in a plaster wall. A moment of clumsiness can lead to knocking into the wall and cracking it. Some cracks even come and go seasonally as the materials expand and contract with the temperatures. You might find cracks at the corners of almost every door and window in the house.
Cracks in Ceiling Plaster
If you live in a home with plaster ceilings and you begin to see cracks, they may be caused by moisture and/or movement. Small cracks can be repaired by applying plaster. If they are bigger and sections of plaster are falling, you will probably have to remove the plaster and replace it with a drywall section.
Like this post? Share it with your friends!
Suggested Read –
- Parts of Building
- Gypsum Plaster Walls
- Plastering and Pointing
- West Point Bridge Designer
- How Long Does Dry Pack Take to Cure
- Difference Between CPM and PERT | What Is CPM & PERT
- Difference Between One Way Slab and Two Way Slab | What is Slab
- Introduction of USCS | USCS Classifies Soils into Two Broad Categories
- Introduction of Gantry Girder | Load on Gantry Gutter | Type of Load on Gantry Gutter
- What Is Pier Foundation | Types of Drilled Piers | Advantages and Disadvantages of Drilled Pier Foundations
Originally posted 2023-07-17 14:05:43.






Perhaps the strongest advantage you can find when it comes to plaster is the durability it offers. Plaster when applied gives off a chemical reaction as its water evaporates, this causes plaster to become much more durable.
thank for sharing your knowledge
In construction work plaster provides protection and decoration. Plaster work is important part of construction, which provides smooth, level and hard surface that can be painted to give good look.
Thanks for sharing the information