How To Use Self-Leveling Concrete Like A Pro?
Important Point
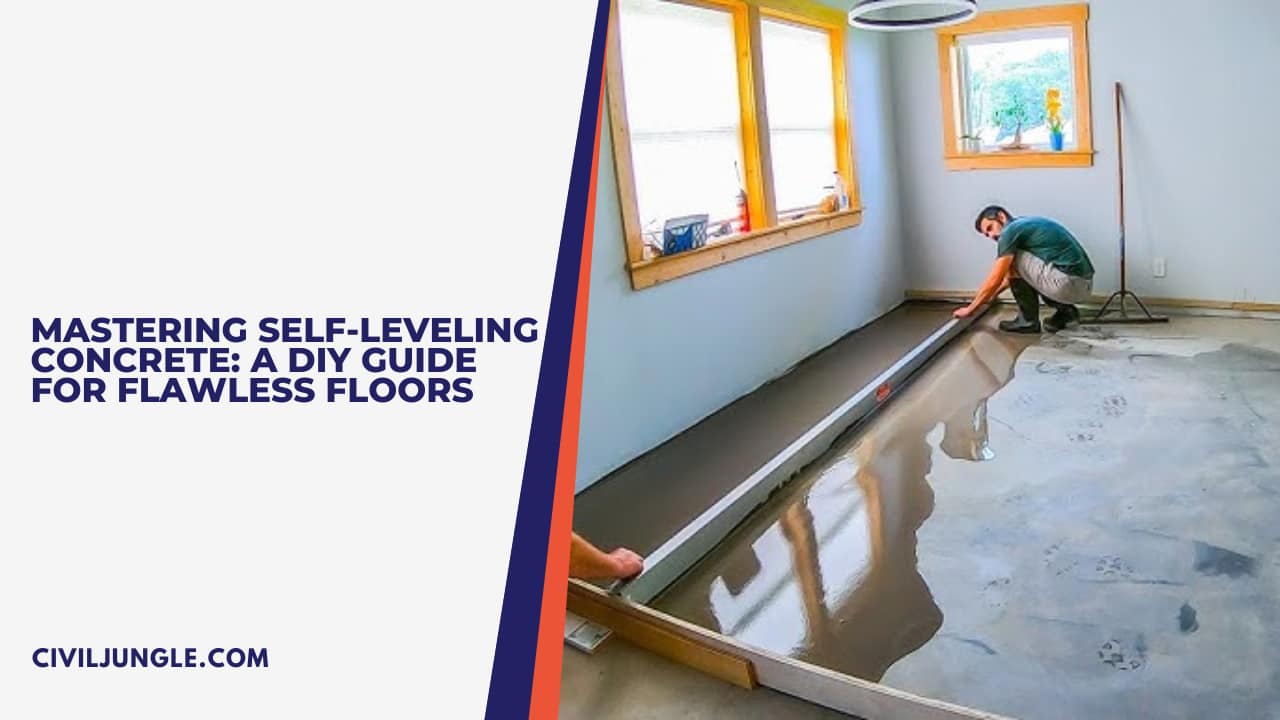
If you are considering renovating an older home’s floors, but they’re not perfectly level, then there’s a great solution.
It is bags at just about any home improvement store for around $25-$50 per 40 lb bag.
Mix 4 quarts of water per bag in a 5-gallon bucket with a strong drill and paddle. A typical 40 lb bag covers 40 sq. ft. at ⅛” thickness or 20 sq. ft. at ¼” thickness. The set time is around 10 minutes at 70 F.
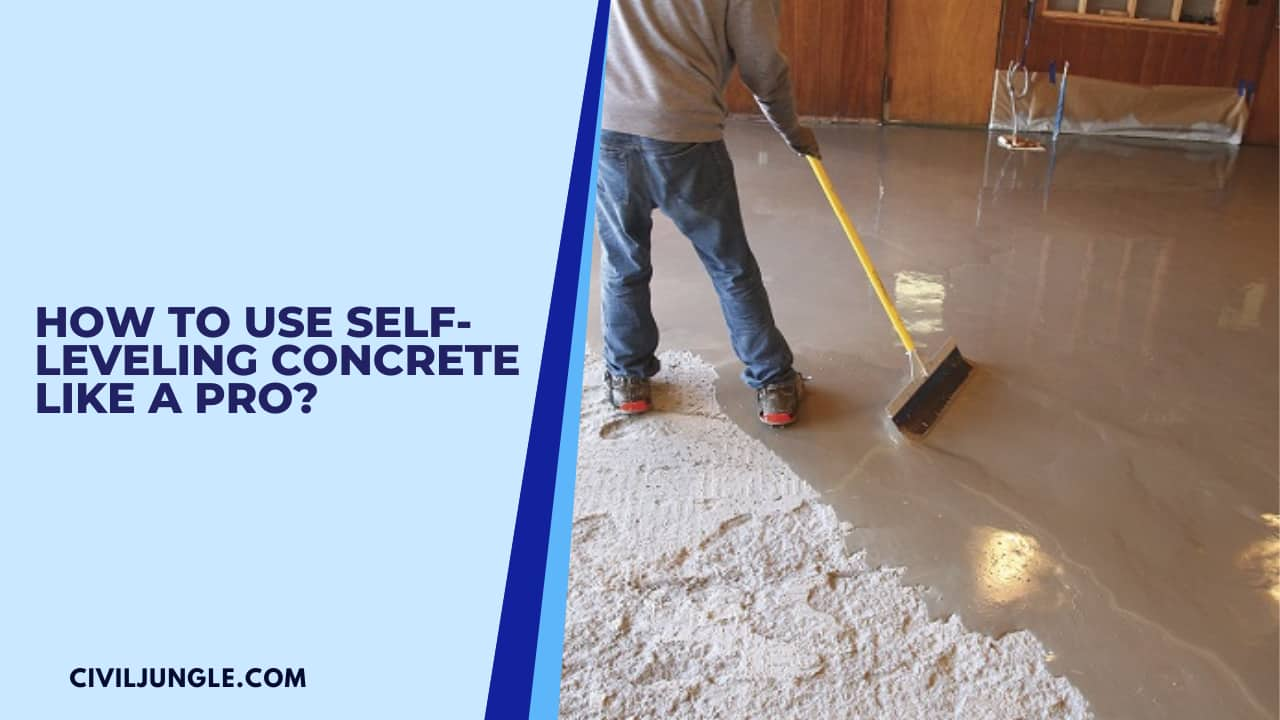
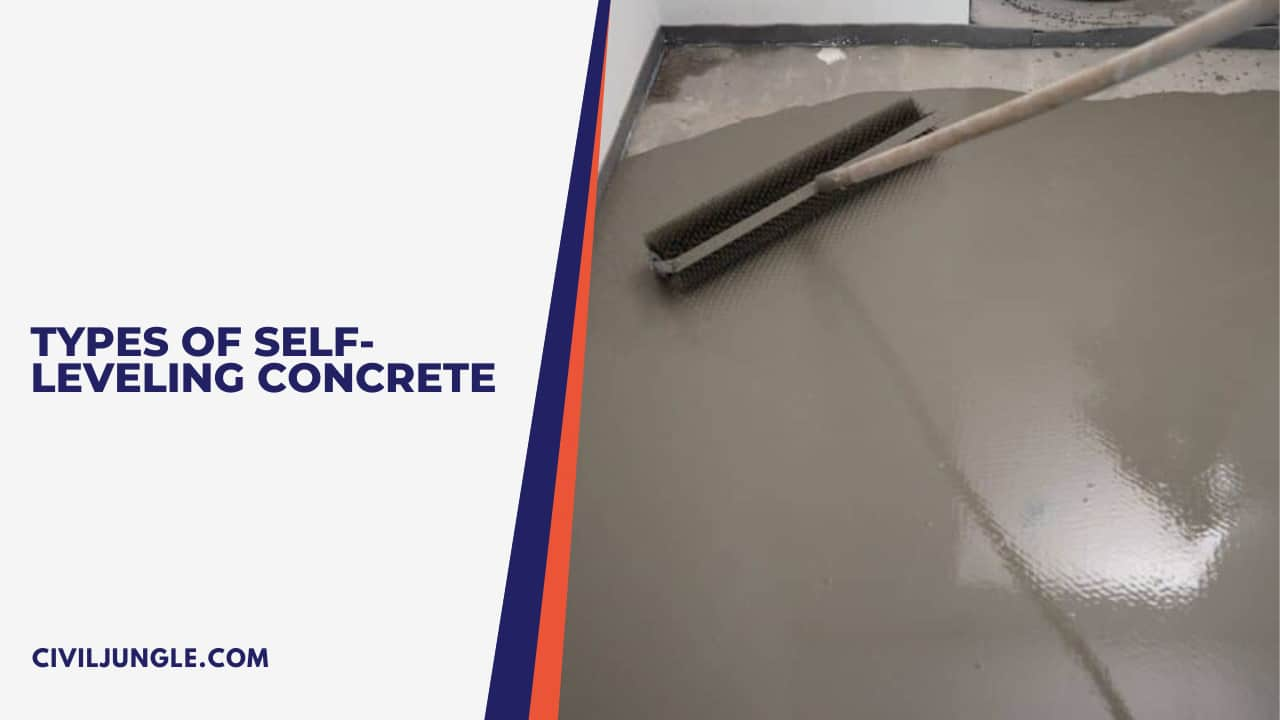
A pole squeegee is sometimes used to spread the leveler around the floor with little effort.
Self-leveling concrete can be a fast, cost-effective solution to the problem whenever you need to repair, smooth, or raise a floor.
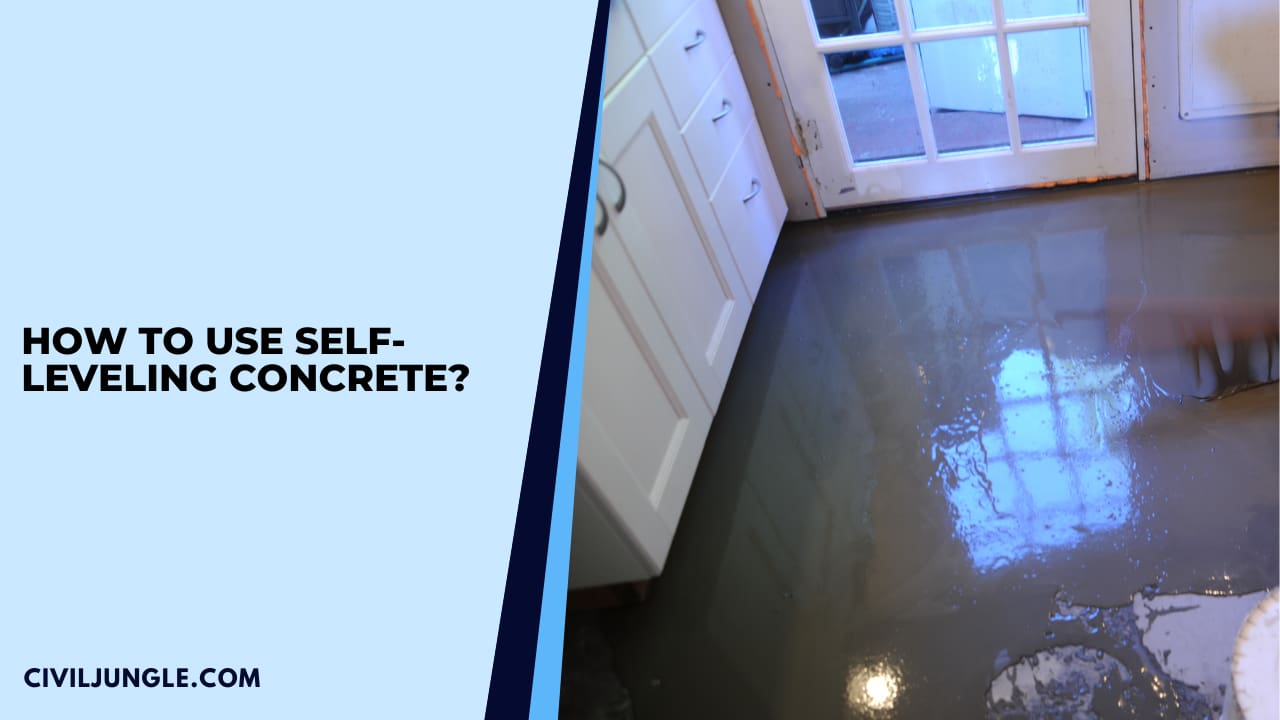
Self-leveling concrete is used to resurface, and level damaged or uneven concrete floors.
They are only rated for interior use as an underlayment for other new flooring types.
The cement floor would encase the heating elements, allow them to radiate heat still, plus provide a level, smooth surface for tiles.
This reason for pouring all over my floors and working myself into a panic.
Self-level concrete is cement-based like traditional concrete, but it flows much easier and is set up more quickly due to the polymer added.
It may also be called self-leveling concrete, leveling compound, self-leveling floor resurfacer, or self-leveling underlayment.
Self-leveling concrete can be poured as thin as a quarter of an inch, just enough to smooth out small imperfections if that’s all you need.
Self-leveling concrete works especially well with radiant heating installations because it easily flows around the tubing.
The floor leveler is great for leveling before you install your finished flooring, like tile, wood, laminate, or carpet.
But just because self-leveling concrete is fairly easy to use doesn’t mean things can’t go wrong.
Also, Read: What Is Granolithic Floors | Construction Method | Advantages and Disadvantages of Granolithic Floor
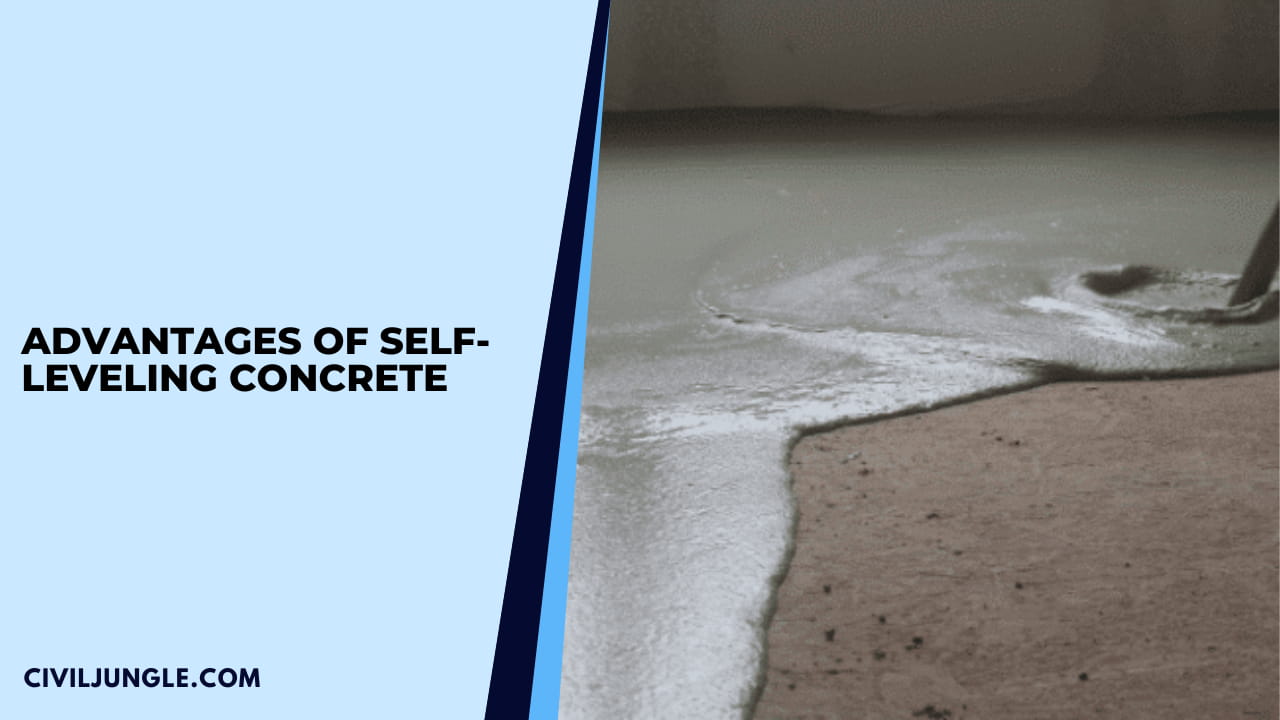
Advantages of Self-Leveling Concrete
The advantages of using self-leveling concrete over other methods to level a floor. As a builder, we always use floor levelers when remodeling older homes.
Self-leveling concrete offers many advantages, including a brand-new look consisting of leveled surfaces.
The many advantages that this technology offers are a reduction in labor hours and significant savings when it comes to cost are some of the main ones.
- Creates a smooth, hard, and level surface when it dries, which makes it perfect for laying finished flooring on.
- Ease of application
- A leveled and smooth surface is obtained
- A water-resistant surface is obtained
- Less labor required
- Resist the growth of microorganisms
- Best choice of heavily reinforced concrete construction
- The best option is where formwork is arranged in unusual geometry
- The hardening of concrete is taking place in a homogeneous way
- Compressive strength higher than traditional concrete is obtained
- SLC concrete gives a flat and smooth concrete surface
- Self-leveling concrete gives cohesive concrete that resits bleeding and segregation issues.
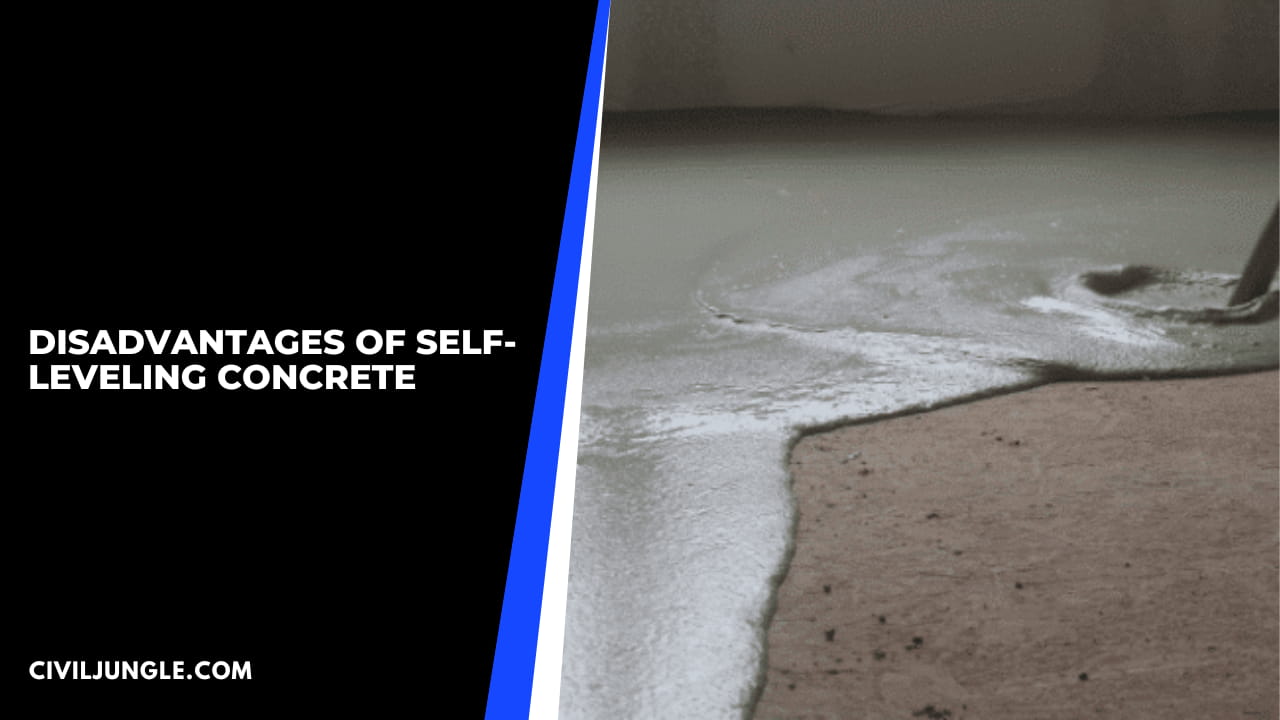
Disadvantages of Self-Leveling Concrete
Self-leveling concrete dries fast, so you need to work with it quickly. This is fast-acting. And some cases, you’ve only got 10-20 minutes to pour and spread until the leveler starts to harden.
It’s very sticky and can ruin any cloth it touches. Splashes will harden on surfaces and should be removed immediately.
Some surfaces, if not cleaned off right away. It’s only a surface-level fix and not a structural floor repair.
For example, if you level off a concrete slab, it’ll look great when done, but the slabs may keep sinking if you don’t fix the cause. Leveler doesn’t fix the reason why your floor is not level.
It’s not expensive compared to other floor leveling options, but it’s much more than traditional cement or concrete.
$20-$40 bucks a bag for 20-40 sq. ft. of coverage is okay, but for larger areas, that can add up. Contrast that with cement or concrete, which is only around $6 for an 80-pound bag.
Useful Article for You
- What Is a Contour Interval
- What Is Tile
- What Is the Difference Between a Shower Pan and a Shower Base?
- What Is a Window Panel
- What Is a Frame Structure
- What Is the Measurement for a Queen Size Bed
- What Is Considered Livable Space
- What Is One Way You Can Save Electricity?
- What Is Mdf Mean
- What Is a Bundle of Shingles
- What Is a Gallon of Water Weigh
- What Is Overhang
- What Is Sand Blasting
- What Is a Span Bridge
- What Is a Soil Stack
- Concrete Beam Size
- Plasticizer in Concrete
- What Is the Little Black Diamond on a Tape Measure
- What Is a Louvered Door
- What Is a Spread Footing
- What Is Leveling
- What Is Pedestal
- What Is Plumbing Fixtures
- What Is a Highway Flyover
- What Is Slab Construction
- Cracking Moment of Concrete
- What Is Calacatta Quartz
- What Is Auxiliary View
- Sheepsfoot Roller
- Live Load Vs Dead Load
- What Is 1 Flight of Stairs
- What Is Refractory Cement
- Dry Pack Concrete
- What Is Luminous Flux Vs Lumens
- What Is a Frost Wall
- What Is an Undercoat
- What Is Road Pavement
- What Is a Moment Frame
- Arch Foundation
- What Is a Stair Landing
- What Is Stone Masonry
- What Is a Spandrel Beam
- What Is Pier and Beam Foundation
- What Is Levelling
- Soft Linoleum Flooring
- What Is a Pile Cap
- What Is a Mat Foundation
- What Is a Floating Slab
- What Is the Purpose of Foundation
- What Is Modulus of Rupture
- What Is a Flush Door
- What Is a Bond Breaker
- What Is a Weep Hole
- What Is Plinth
- What Is Residential Construction
- What Is Cinder Block
- What Is a Concept Sketch
Types of Self-Leveling Concrete
There are two different types of self-leveling concrete: acrylic-based and water-based. They’re very similar and accomplish the same basic things but slightly differently.
This article is about water-based levelers because that’s most likely what you’ll be using. We seldom use acrylic levelers except in specific situations where the architect or engineer calls for them.
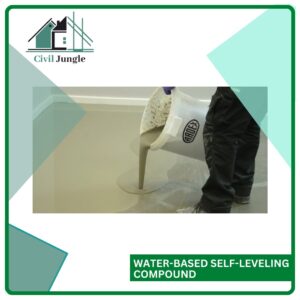
1. Water-Based Self-Leveling Compound:
The water-based self-leveling compound uses regular water instead of an acrylic liquid. This is the standard floor leveler you can buy in bags at almost any home improvement store.
The result is a surface with a consistency more like normal concrete. It dries quickly, sometimes in as little as 10-20 minutes.
All the advice, information, tips, and tricks throughout the article assume you are working with a standard water-based floor leveler.
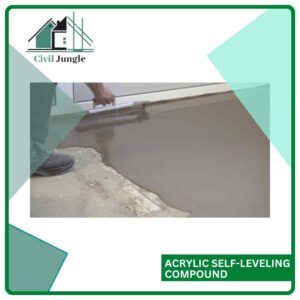
2. Acrylic Self-Leveling Compound:
The acrylic self-leveling compound is mixed with acrylic liquid polymer and cement powder.
A special product that’s not typically used in residential work. And use it when you need a little more flexibility or a faster dry time.
The result is a slightly more elastic floor than regular concrete and resistant to scratches and abrasions. It takes longer to dry than water-based self-leveling concrete.
Also, Read: Best Concrete Mix for Driveways
How to Mix Self-Leveling Concrete?
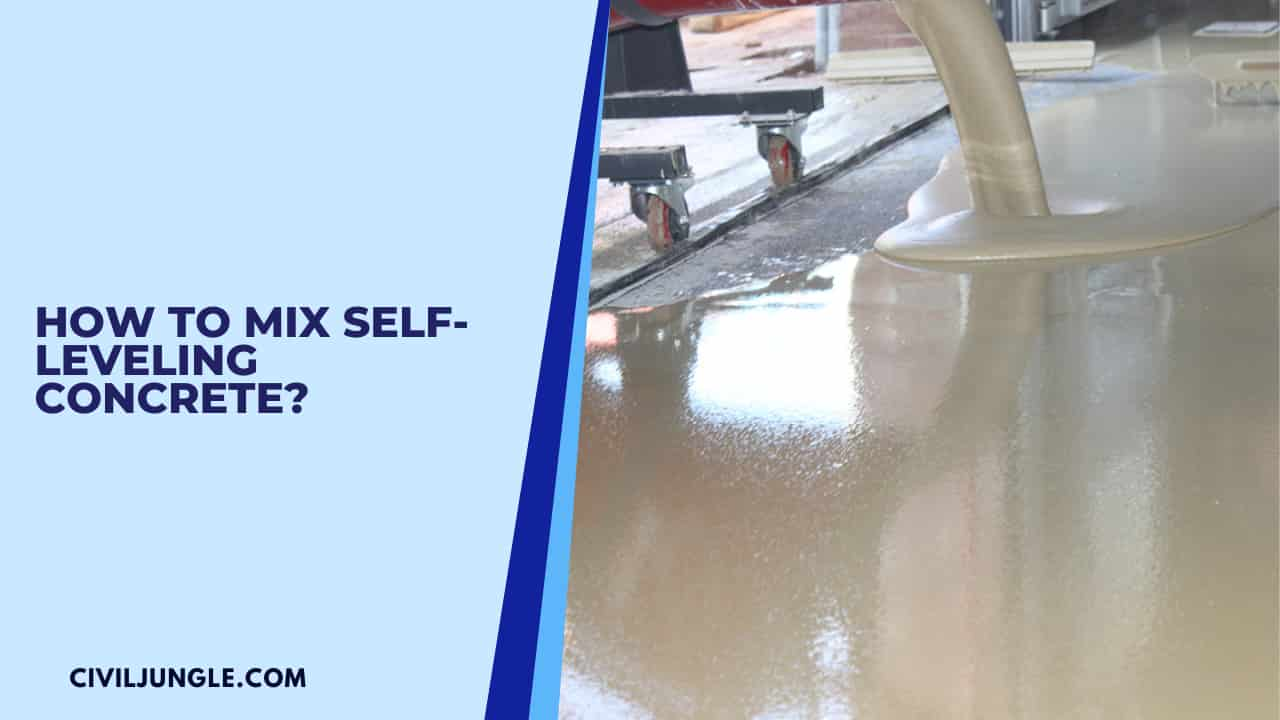
The very important part of using self-leveling concrete is mixing it properly. A part of getting the right consistency in the SLU is having a good mixing paddle and a reasonably powerful electric drill.
Even in these cases, if you’re pouring large areas and will be mixing one batch immediately after another, you should consider an electric model.
It’s a polymer-modified concrete that’s highly viscous and does almost all the work for you, but it has to have the correct consistency to do its job. And if it’s too thin, it’ll seep through small gaps in the floors and won’t harden strong.
How to Use Self-Leveling Concrete?
In most instances, self-leveling concrete should only be used for interior flooring. A few indoor/outdoor applications can make sense.
However, self-leveling concrete won’t be appropriate for outdoor applications.
- One of the best things about self-leveling concrete is that you can level a floor yourself.
- You should follow a simple step-by-step process, which we’ll detail below.
Prep & Clean the Floors
All subfloors should be sound, solid, thoroughly clean, and free of oil, wax, grease, asphalt, tar, paint, patching compounds, curing compounds, and any contaminant that might act as a bond breaker.
Contaminants should be removed by mechanical means, such as grinding or a similar method.
Concrete must be sound, solid, and mechanically prepared to obtain a porous surface. Prime your concrete subfloor if your leveler does not contain primer.
Floor preparation is very important. The floor leveler sets quickly, so everything has to be ready once you mix the compound.
The first thing you need to do is inspect and possibly support the floor. A floor leveler is a cosmetic solution, not a structural fix. And if the sagging continues, the leveler and new floor will crack.
The self-leveler will fill small to medium-sized gaps but seep through the big ones.
Although some self-leveling concrete mixes include a primer, most floors will need to be primed in most cases. And we use it primarily when leveling masonry floors.
Mix
Mix the products until it’s highly viscous and lump-free. It should look like syrup or thick paint. And using a cement mixing paddle powered by a strong drill.
Once the floors are inspected, supported, cleaned, and primed, mixing your cement is time. Use a 5-gallon bucket.
Pour in 4 quarts of water per 40 lb bags of leveling cement. Add water into the buckets first, then pour in powder slowly as you mix.
Pour & Level
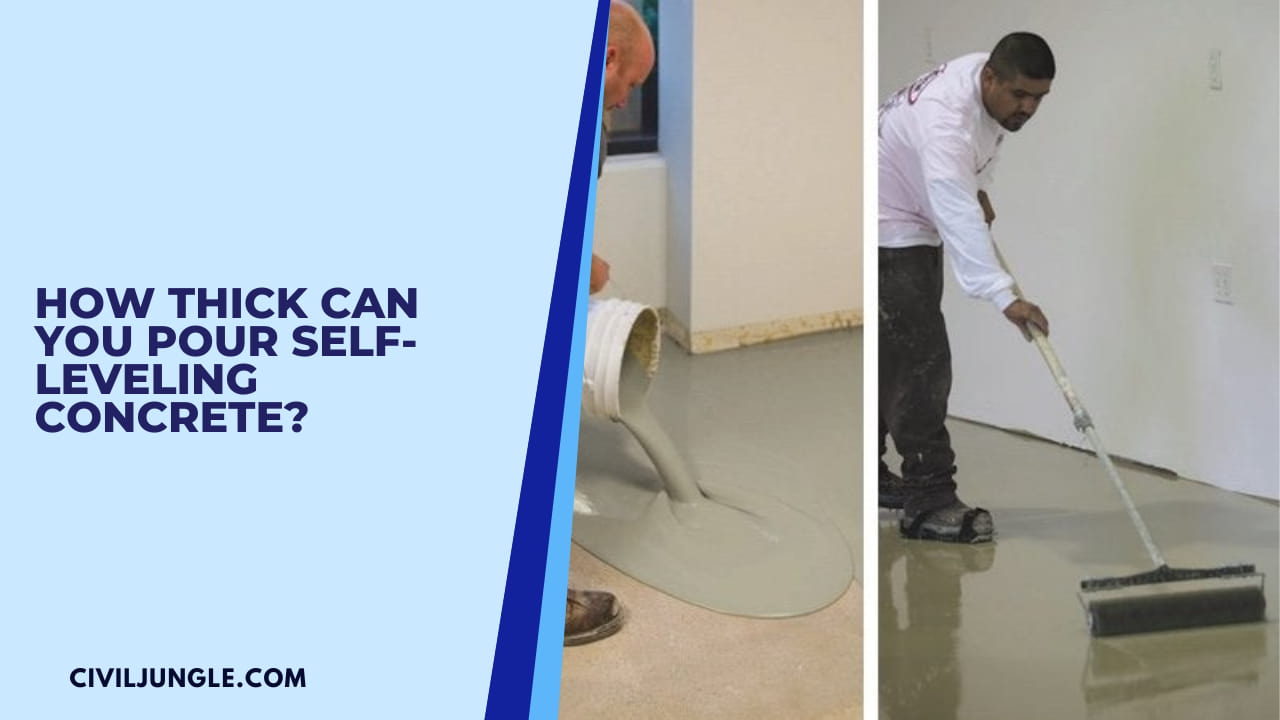
Pour the mixture onto the floors at an even pace. Work fast because the compounds are set up quickly, but don’t rush.
And if you’re only filling a few low spots, pour the compound into the problem areas.
Once the more tired floor is covered, leave it alone. Your job is to prep, mix, pour, and spread. The compound does all the floor leveling work.
Clean up any drips and splashes on the walls as soon as possible. Clean your tools thoroughly, too se. Leveling cement dries fast and very hard.
The leveler should reach its initial set in about 10-20 minutes and fully harden in a few hours. And during that time, don’t walk on or put anything on the floor. Just leave them alone and let them dry.
Useful Article for You
- Monolithic Slab
- Zero Force Members
- How Much Does a Yard of Concrete Weigh
- Cmu Wall Meaning
- Gradient Road
- Budget Sunroom Ideas
- What Is Gypsum Board
- Types of Vaulted Ceilings
- Well Points
- How Does Baking Soda Remove Blood from Carpet
- What Are Forms in Construction
- How Heavy Is Dirt
- Tender Meaning in Architecture
- Dark Olive Green House
- Cast in Place Concrete
- Lean to Roof
- How Tall Is an Average Door
- Grade Beam Foundation
- Window Sill Height
- Concrete Cold Joint
- Types of Traps
- Types of Pipe
- Wood Supporting Beams
- Finishing Plaster
- Concrete Wall Finishes
- Home Depot Scrap Wood
- Lvl Beam Size Calculator
- Structural Shell
- Curb Types
- Msand
- Optimum Dry Meaning
- Disadvantages of Low-E Glass
- Bridge Abutment Definition
- Plumbing Joints
- Build Materials List
- Composite Masonry Wall
- Is Cedar a Hardwood or Softwood
- Modified Proctor Test
- Construction Joint Vs Control Joint
- Physical Properties of Sand
- Sugar in Concrete
- Crane Machine Construction
- Roof Pitch Types
- Types of Gable Roofs
- Different Types of Walls
When Do I Need to Level the Floor?
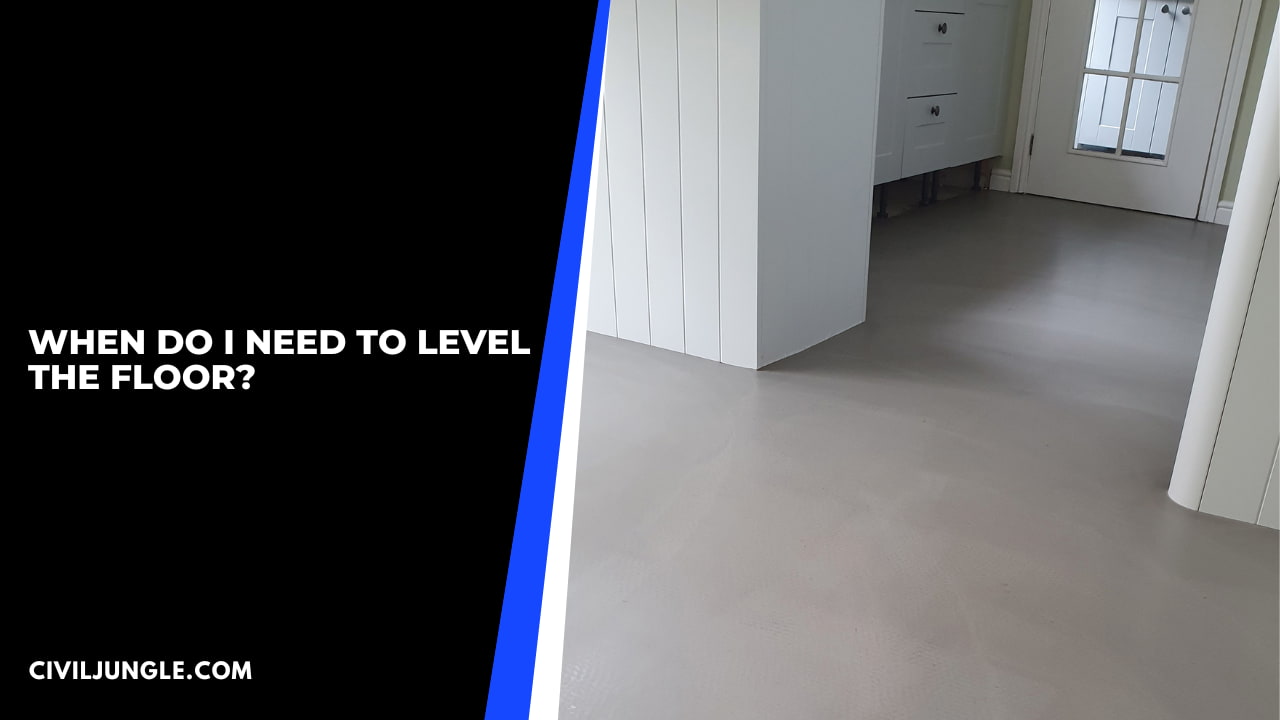
Most people will level a floor before they install new flooring, like tiles, carpet, linoleum, etc. if there are bowls or dips in the middle of the floor.
They can also cause squeaks in wood floors. But what about if the entire floor is flat but also pitched?
In this case, I still recommend using a leveler to even things out. And in my opinion, every interior floor should be level.
It’s not as big an issue if the entire floor is pitched in one direction, but it’s still not correct.
Also. Read: Old Mansion Floor Plans
Where Can I Buy Leveler and How Much Will It Cost?
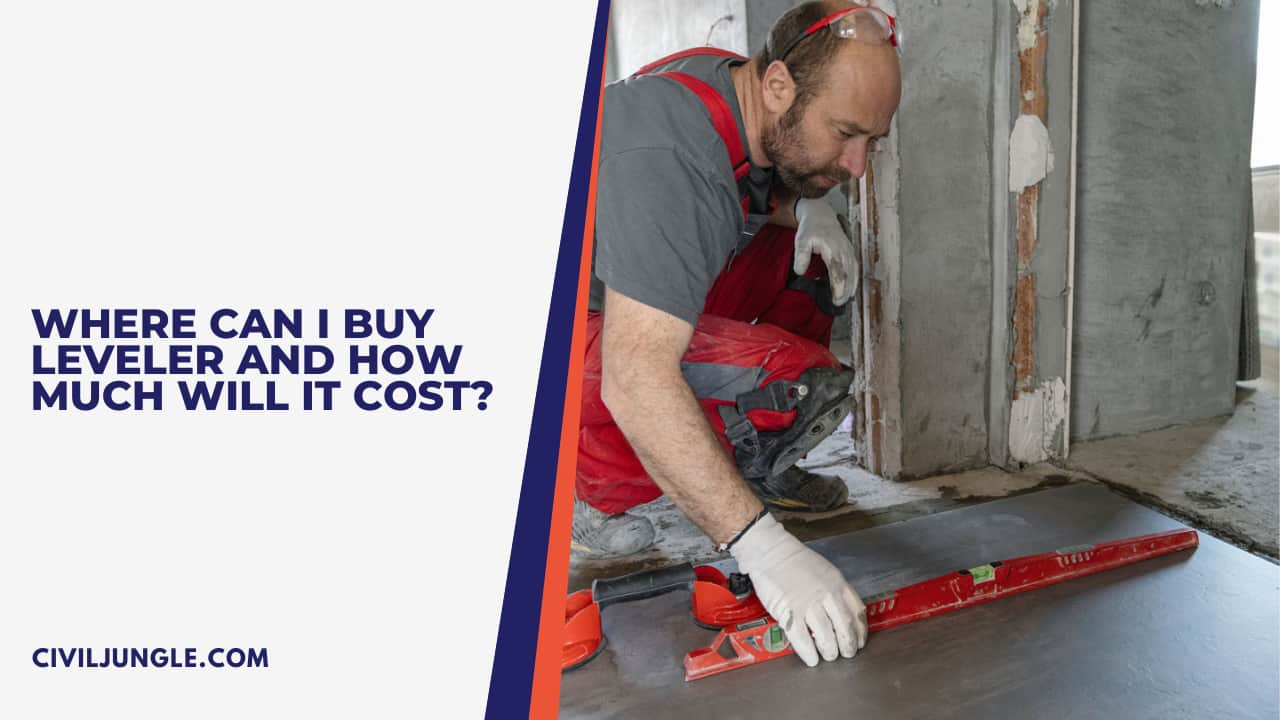
You can buy bags of floor leveler at just about any hardware store. It’s very easy to find. Most bags are 40 lbs, covering approximately 20-40 sq. ft. you won’t need to pour it very thick over fairy-level areas.
Generally, we use ¼ – ⅛ of an inch over the entire surface plus whatever we need to fill large dips.
At just ⅛ inch of thickness, 40 pounds of concrete leveler should cover about 40 square feet of flooring. Before you start work, you should measure the space you plan to level to figure out how much you’ll need.
Remember that these products use cement as a base, which means they’re caustic in dry and wet forms. Before working with them, I wear rubber gloves, goggles, and a mask if I mix indoors.
Precautions
As with any cement or concrete product, you should take a few precautions. Wear Goggles: always keep cement and concrete products out of your eyes.
The self-leveler can easily splash while you mix or pour. And you don’t want the dry mix in your eyes either, so be careful when you handle it.
Wear Gloves: concrete and cement products can also harm the skin. I recommend always wearing gloves. If any product gets on your skin, wash it off right away.
Wear A Mask: Inhaling concrete dust isn’t great for the lungs. I always wear a mask whenever I do concrete work and recommend you do too. And I also try to always work in well-ventilated areas.
Temperature: Using a leveler is best in temperatures between 65 and 80 degrees Fahrenheit. Please don’t use a leveler when it’s too cold because the water inside can freeze and weaken the cement. Indoors Only: self-leveling concrete should not be used outdoors.
How Thick Can You Pour Self-Leveling Concrete?
The thickness depends on the product you use. But standard thicknesses are between ⅛ inch and 1 inch.
Self-leveling concrete can be poured in thicknesses ranging from ¼” to 1″. For thicknesses greater than 1″, I believe it can be poured in a year.
However, some mixes can be poured as thin as 1/16 inch and as thick as 5 inches. The thickness of self-leveling concrete you can pour depends on the product you are using.
However, typical thickness ranges from 18 to 1 inch. However, options for pouring as thin as 1/25 inch and as thick as 5 inches are available.
Most manufacturers suggest applying no more than one ⅛” thick application of self-leveling or floor patch compound at a time.
How Much Does a 40 Lb Bag of Self-Leveler Cover?
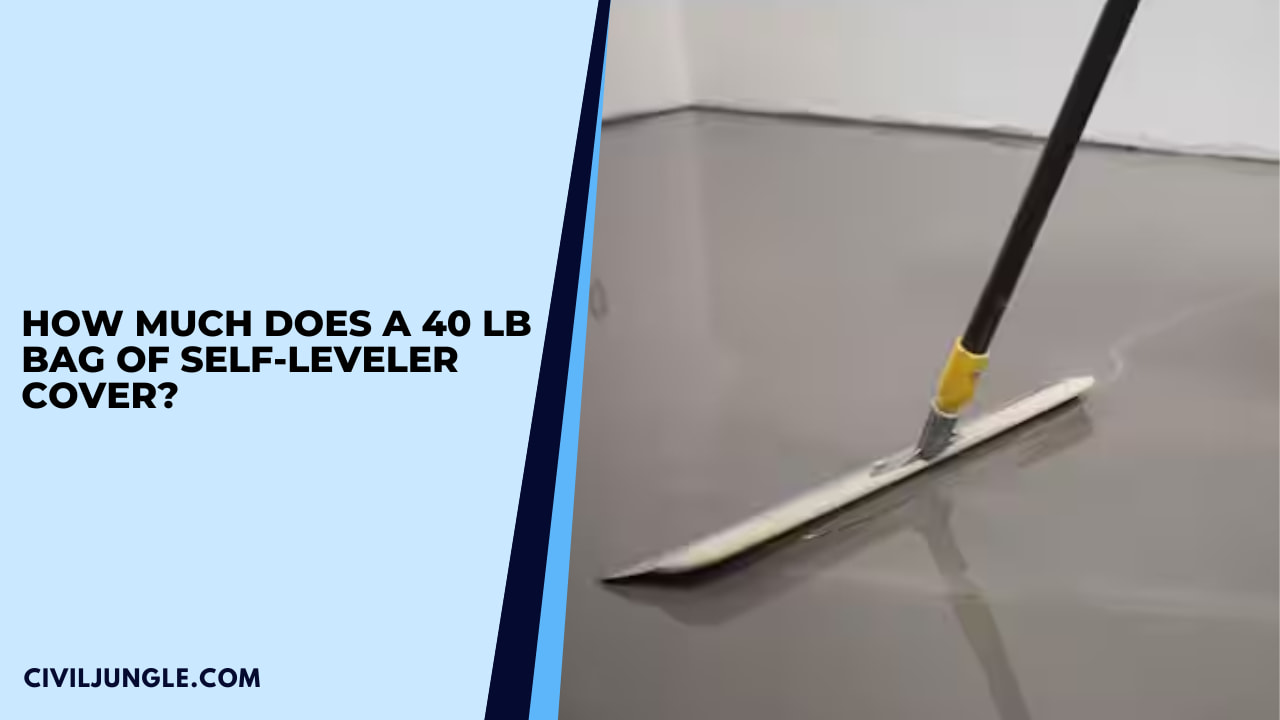
A 40Ib. A bag of standard self-leveling concrete should cover around 40 square feet at ⅛ inch thickness or 20 square feet at ¼ inch of the self-leveler cover.
How Does Self-Leveling Concrete Work?
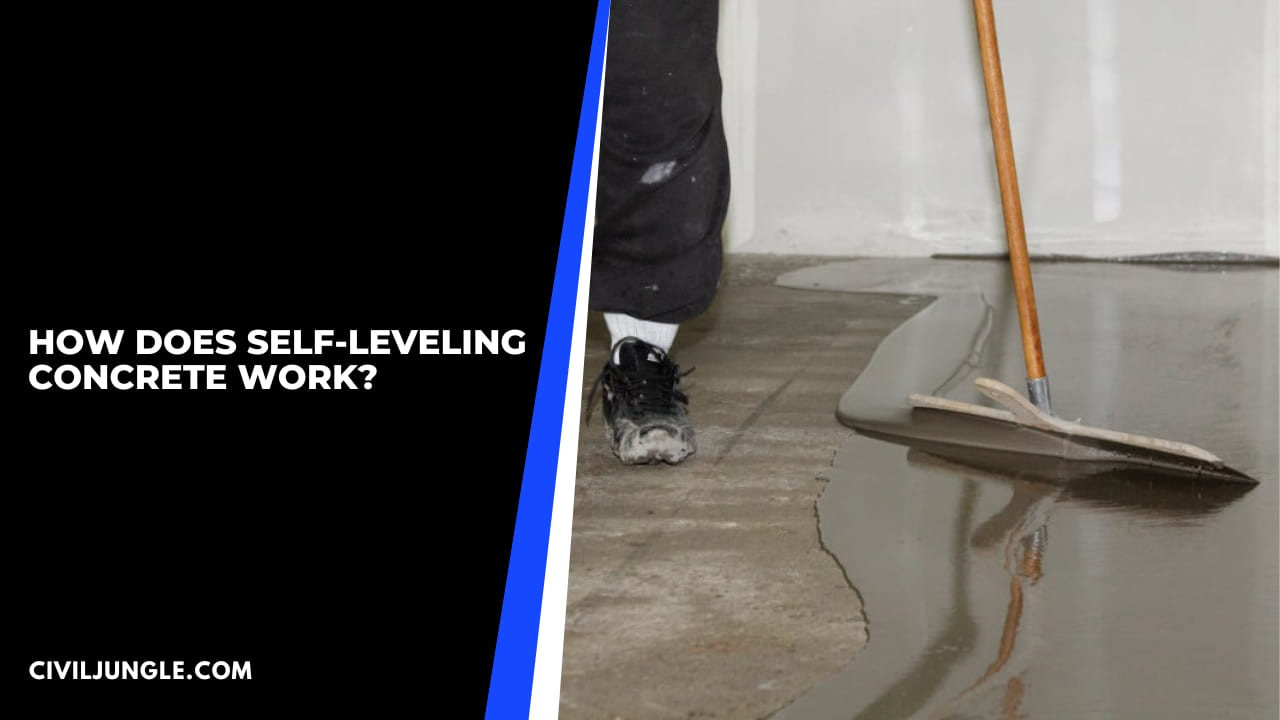
Self-leveling concrete is highly dense with the consistency of syrup, so it doesn’t need to be spread with a trowel. In the same ways that cement is a cementitious combination, so are self-leveling concretes.
Concrete is more difficult to work with and takes longer to harden. A gauge rake distributes the product uniformly after it has been combined with water and pumped or put into place.
However, we use a squeegee on most jobs to help spread it faster. Pour some syrup onto a dish and let it sit; the syrup will eventually level itself with nothing but its weight and gravity.
The formula is designed to dry quickly after pouring and to set stronger than standard concrete.
Do I Need to Prime Concrete Floors Before Leveling?
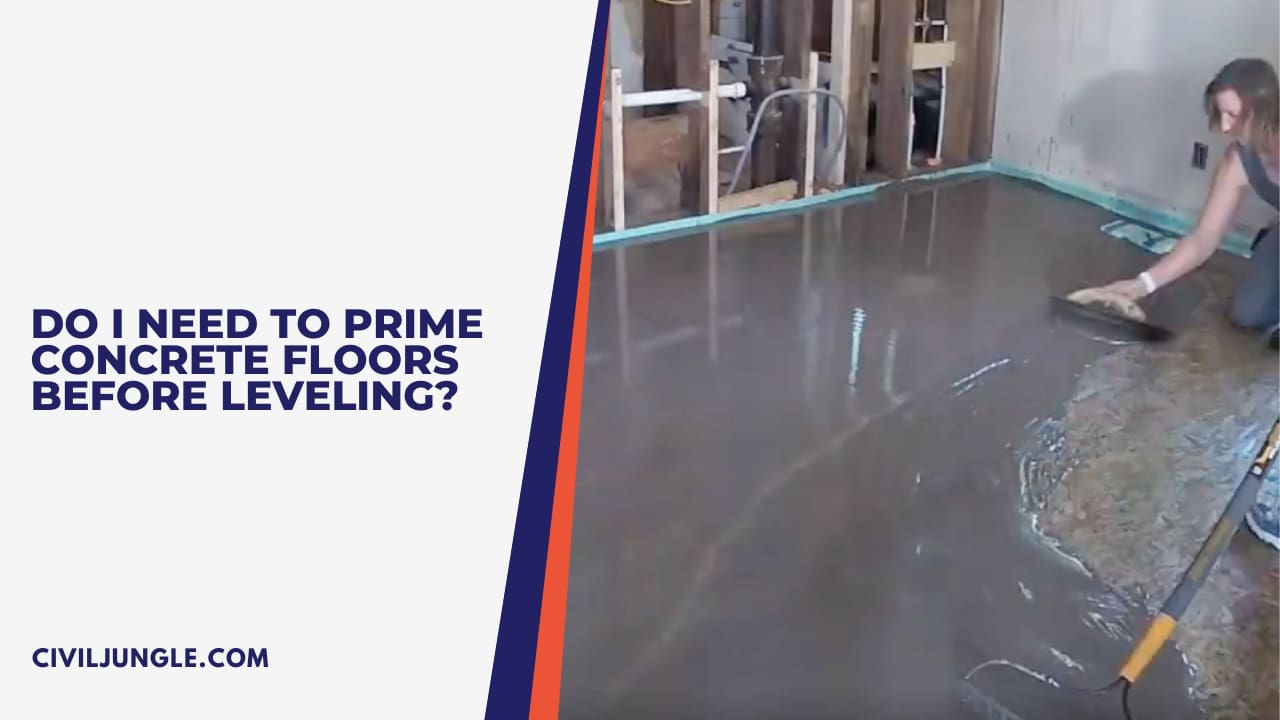
A primer is needed before applying the floor leveler, and you’ll want it to penetrate the floor rather than sit on top of dirt and dust. And most self-leveling concrete manufacturers advise priming concrete floors before applying the leveler.
Before installing self-leveling underlayment, a primer is required. And The moisture in the self-leveling underlayment is retained by the primer, allowing for proper curing.
Some brands will have a primer included in the mix, so check the instructions for whatever brand you buy.
Can You Use Two Layers of Self-Leveler?
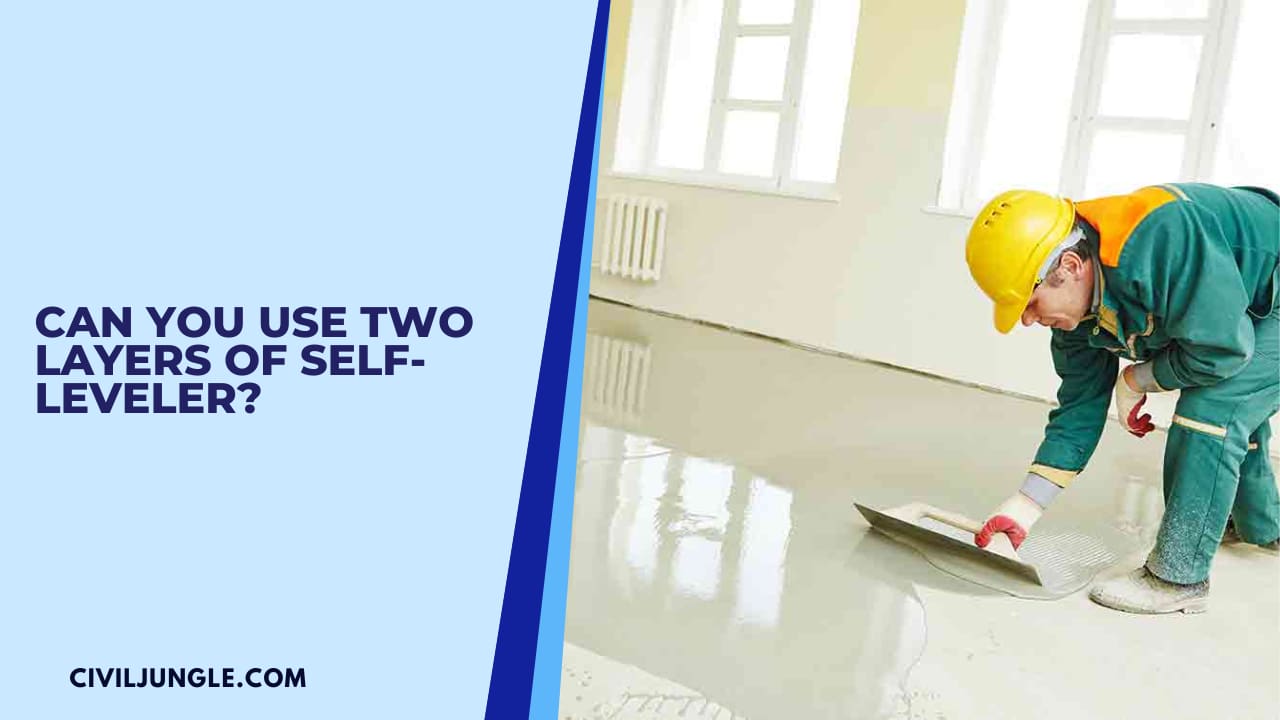
They ensure the first layer is fully dry and hard before adding a second. And Yes, you can use multiple layers on top of one another.
Also, use a primer like any concrete floor unless your new leveler has a primer built in.
Also, Read: How Many Bags of Concrete Do I Need?
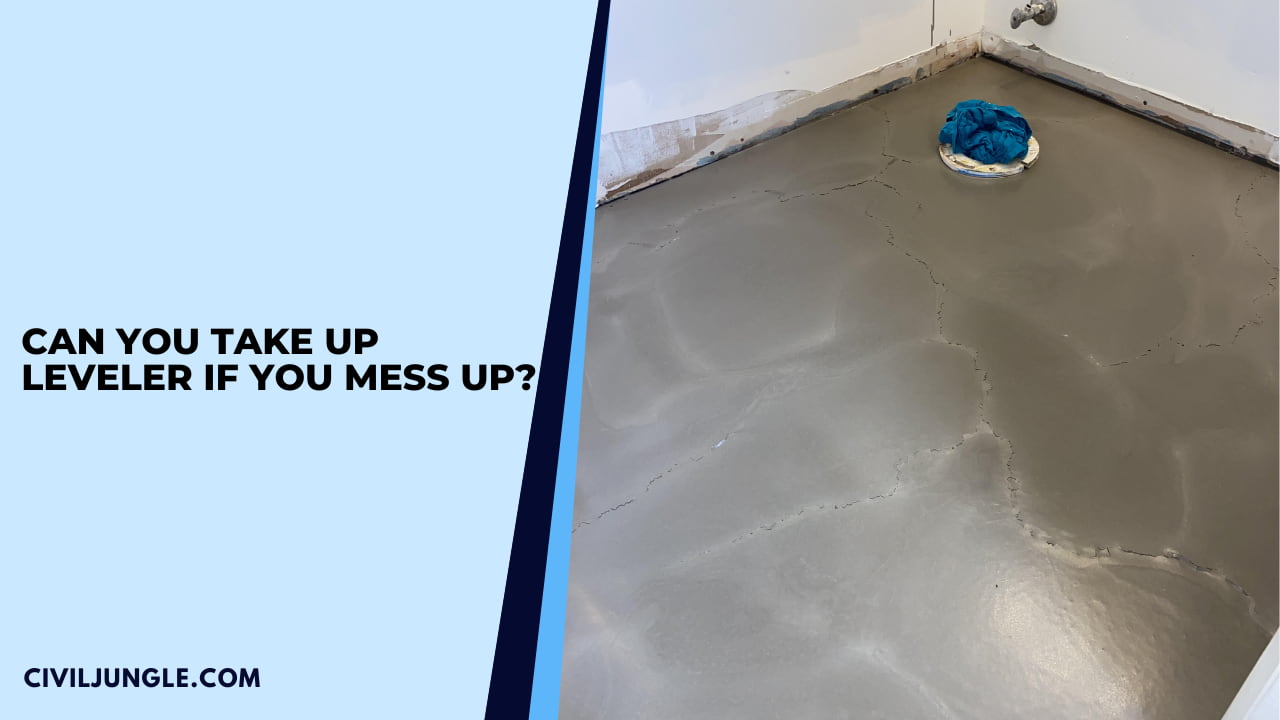
Can You Take Up Leveler If You Mess Up?
You can also sand down the leveler with a concrete or cement sander. Yes, you can demo floor levelers like any other cement or concrete.
But it’s not easy work. If for some reason, the leveler has a high spot, you can sand it down.
Tips:
- The key to doing it right is the mix. Make sure you always use the right amount of water.
- Take your time prepping the floors before mixing. There won’t be any time to do it later.
- Work quickly. Once you stop mixing, start pouring. Some mixtures can start to set in as little as 10 minutes.
- If the leveler doesn’t have a built-in primer, prime your concrete floors before leveling.
- A floor leveler is a cosmetic fix, not a structural one. Leveler won’t fix why your floors are not level; they’ll cover the problem up.
How to Use Self Leveling Concrete on Concrete?
Self-leveling concrete is a cement-like compound similar to concrete, but it is much thinner and flows easily. When mixed with water, it can be poured over existing concrete slabs where it will spread and even itself out, creating a level surface.
How to Level a Concrete Floor That Slopes?
The easiest way is to use a self-leveling compound, also called liquid floor underlayment or floor resurfacer, within sections of level-cut rails. The material flows out like thick syrup, then hardens into a smooth, perfectly level surface, sometimes in less than an hour.
How Does Self Leveling Compound Work?
A self-levelling screeding compound contain latex because they are laid in a very thin layer, helping give concrete floors the flexibility they need to move without cracking. Once self-levelling compounds are mixed and poured, they will flatten across the uneven floor and use gravity to self-level.
How Thin Can Self Leveling Concrete Be?
They’re generally mixtures of Portland cement, polymer plasticizers, and other ingredients. They have the strength of concrete but flow more easily and are set up quickly. Self-leveling concrete can be poured as thin as a quarter of an inch, just enough to smooth out small imperfections if that’s all you need.
How Deep Can Self Levelling Compound Be?
Most levelling compounds can only be applied up to 30-40mm and will need to be used in more than one application or with other materials required. However there are some exceptions on the market such as BAL Level Max which can be applied from 2 mm up to 80 mm in one application.
How Strong Is Self Leveling Concrete?
High Durability: Self-leveling concrete is incredibly strong and durable, making it an ideal choice for high-traffic areas. Perfect for Resurfacing: Self-leveling concrete can be used to resurface old, damaged concrete floors, which can save you a lot of money compared to tearing up the old concrete and pouring new.
How Long Does Self Leveling Concrete Take to Dry Before Tiling?
Self-leveling concrete typically takes 4-24 hours to dry, so you should be able to walk on it after 4 hours. Give it at least 24 hours to dry completely before installing any other flooring.
Self-Leveling Compound Mix Ratio
The mixing ratio of Pour & Level is 20 kg powder to 4 Litres of water. Pour 4 Litres of clean water into a drum and then gradually add the Pour & Level while mixing continuously using a drill and suitable paddle until a lump free mix is obtained. Always add powder to liquid.
How to Level a Floor in an Old House?
There are multiple ways to fix a floor that sags and dips.
- Pour Self-Leveling Underlayment. Pour self-leveling underlayment in the problem area.
- Sister the Joists.
- Prop Up the Joists.
- Lay Down New Hardwood.
Cost to Level a Floor in an Old House
On average, you are looking at about $3 – $5 per square foot.
How Thick Can You Pour Self-Leveling Concrete?
QUIKRETE® Fast-Setting Self-Leveling Floor Resurfacer (No. 1249-51) can be installed from 1-1/2 inch (38 mm) thick to a feather edge, although a ¼ inch (6.3 mm) minimum thickness is required for heavy traffic areas.
Best Self-Leveling Concrete
- Best Overall Self-Leveling Underlayment—Rapid Set CTS Concrete Leveler.
- Best Self-Leveling Concrete for a Concrete Floor—Quikrete High-Performance Cement FastSet Self-Leveling Floor Resurfacer for Ceramic Tiles.
- Best Self-Leveling Concrete for a Flat Surface—HENRY 565 FloorPro.
How Does Self-Leveling Concrete Work?
Self-leveling concrete is a cementitious mixture, much like concrete. But unlike concrete, it flows easier and sets up much faster. The product is mixed with water, pumped or poured into place, and spread evenly with a gauge rake. Once it’s spread out, it continues to flow evenly and levels itself out.
Do I Need to Prime Concrete Floors Before Leveling?
Floor primers can be an overlooked part of floor preparation, but should be considered an essential part of any installation. If a primer for self-levelling compound isn’t used, your floor could be subject to surface imperfections, including pinholing, which could lead to costly failures further down the line.
When to Use Floor Leveling Compound?
There are many applications for self-leveling concrete. It is perfect for upcycling settled or cracked floors. You can also use it to smoothen and flatten rough and uneven basement floors. You can also use it as a standalone finishing material, durable enough to withhold daily wear and tear.
Too Much Water in Self Leveling Compound
Proper water demand: Mix your self-leveling underlayment within the water range specified on the bag. Overwatering will lower the strength of the underlayment and may cause cracking and disbonding. Additionally, a white film may form on the surface of the cured underlayment if the product is overwatered.
Like this post? Share it with your friends!
Suggested Read –

Leave a Reply